Appearance
Sample Workflows and Usage
Below are some examples of workflows that can be accomplished in Nanome v2, including using MARA to open and prep structures.
Opening from MARA
- Log into MARA and Nanome with the same account credentials.
- Create a new MARA chat.
- Prompt MARA to load a structure of your choice and MARA will render the structure in the Molstar Visualizer.
- Example Prompt: "Load 67o" --> loads in Molstar viewer panel.
- Click the button to "Open in XR", and a message will appear in MARA.
- Go to the Nanome app in your XR headset - the structure will be there as a new workspace named after the chat.
Note: The workspace will be set to 'Private' permission level, so it cannot be shared.
Limitation: Each 'open in headset' action from MARA will create a new workspace. Representations might not be exact between Molstar and Nanome. In those cases, our team is happy to help. Please reach out to us at support@nanome.ai to help us build solutions for representations.
Sharing Workspace
- Open Collaboration and click ‘Permissions’. There are two main methods to do this:
- Set the workspace code from ‘Private’ to ‘Viewer’ or ‘Editor’ depending on your needs, then tell your colleagues the code.
- Invite a user directly by email if they have a Nanome account. (This must be an exact email match, there is no auto-completion.)
- Each user that joins with the code or was added via email will appear in the workspace list.
- Each user permission can be individually managed (including setting to none).
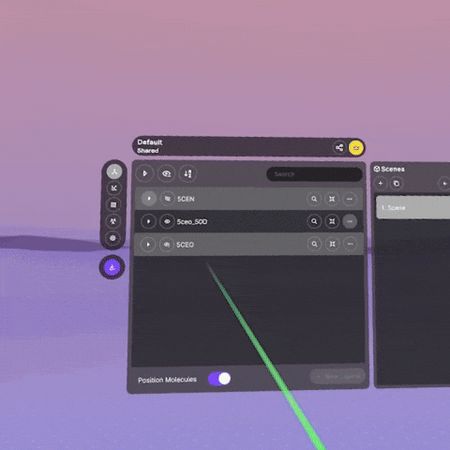
Displaying Interactions Between Structures
Video: Cross-Entry Interaction Components
- Make sure your structures show up as entries in the main section of the Application Menu.
- Find one of the entries, then click on the 'Structure Actions' button to the right of the entry name.
- Select 'Create interaction components' and choose either 'Polymer-Ligand' or 'Polymer-Polymer' depending on the type of interaction you want to display, then select the target entry and click 'Create'.
▶
Aligning Proteins in XR
Video: Aligning Proteins
- Make sure your proteins show up as entries in the main section of the Application Menu.
- Find one of the entries, then click on the 'Structure Actions' button to the right of the entry name.
- Select 'Align proteins to this', then choose which entry you want to align to and click 'Align'.

▶