# Navigating Nanome

# Lobby

The Nanome Lobby is where users can sign into an account or sign up. By toggling the 'Remember Me' button, users can automatically be signed in the next time they start Nanome. Users can also start the tutorial by selecting 'Start Tutorial'.

# Creating an Account

An email address is required to create a Nanome account.

Terms & Conditions: https://nanome.ai/terms/

# Tutorial

The tutorial consists of 19 levels. Follow the instructions on the Level Panel and the narrated audio to complete the levels.

Users can visit previous levels by selecting the 'back' button on the Level Panel. Users can skip the current tutorial level by selecting the 'Skip' button on the Level Panel.

Users can restart the level by selecting the refresh icon on the left of the Level Panel once a level is complete. Users can move onto the next level by selecting the right arrow on the right of the Level Panel once a level is complete.

# Bar Buttons

Refresh, Creating a Room, and Settings

# Refresh

Users can refresh the available room list by selecting the 'Refresh' button at the top of the Lobby Navigation Bar Buttons.

# Creating a Room

There are three Room Types a user can create depending on their Nanome License.

Room Types:

  • Public Rooms: Anyone can join in the room. available to all Nanome licenses
  • Private Rooms: A password is set for the room. Available to Academic and Enterprise
  • Single User: Offline mode which no one else can join. Available to Academic and Enterprise

# Settings

In the Setting tab, users can adjust various settings.

  • Configuration Viewer

By selecting the Configuration button in the Setting tab, users can view the Nanome Configuration file, which contains additional settings that cannot be controlled directly from within the app. The Configuration file can be located in the same directory as the app build directory.

# Bar Statuses

# Server Type

Indicates connection to Nanome Public Server or Custom Private Server

# Version

Indicates Nanome version

# Update Banner

The update banner features the latest features that are added in the build that the users are in.

# Joining a Room

In order to join a room, select a room from the lobby.

# Environment

In addition to physically moving around in VR, users can teleport around the environment by pointing to a spot on the floor and clicking and holding with their index finger.

# Environment Scaling

In order to scale the environment or molecular structures, press down on the middle finger 'grip' button on each controller. Next, bring the controllers together to scale the environment smaller or pull them apart to scale the environment larger.

# Structure Grabbing & Moving

In order to grab a structure, reach out and press the middle finger 'grip' button on one of the left or right controllers. Users can also grab structures from a distance by pointing their ray/laser and then pressing the 'grip' button.

Once the structure is grabbed, users can use the joystick or touchpad of their controllers to move the structure closer or further away from them.

# Entry Menu Grabbing & Scaling

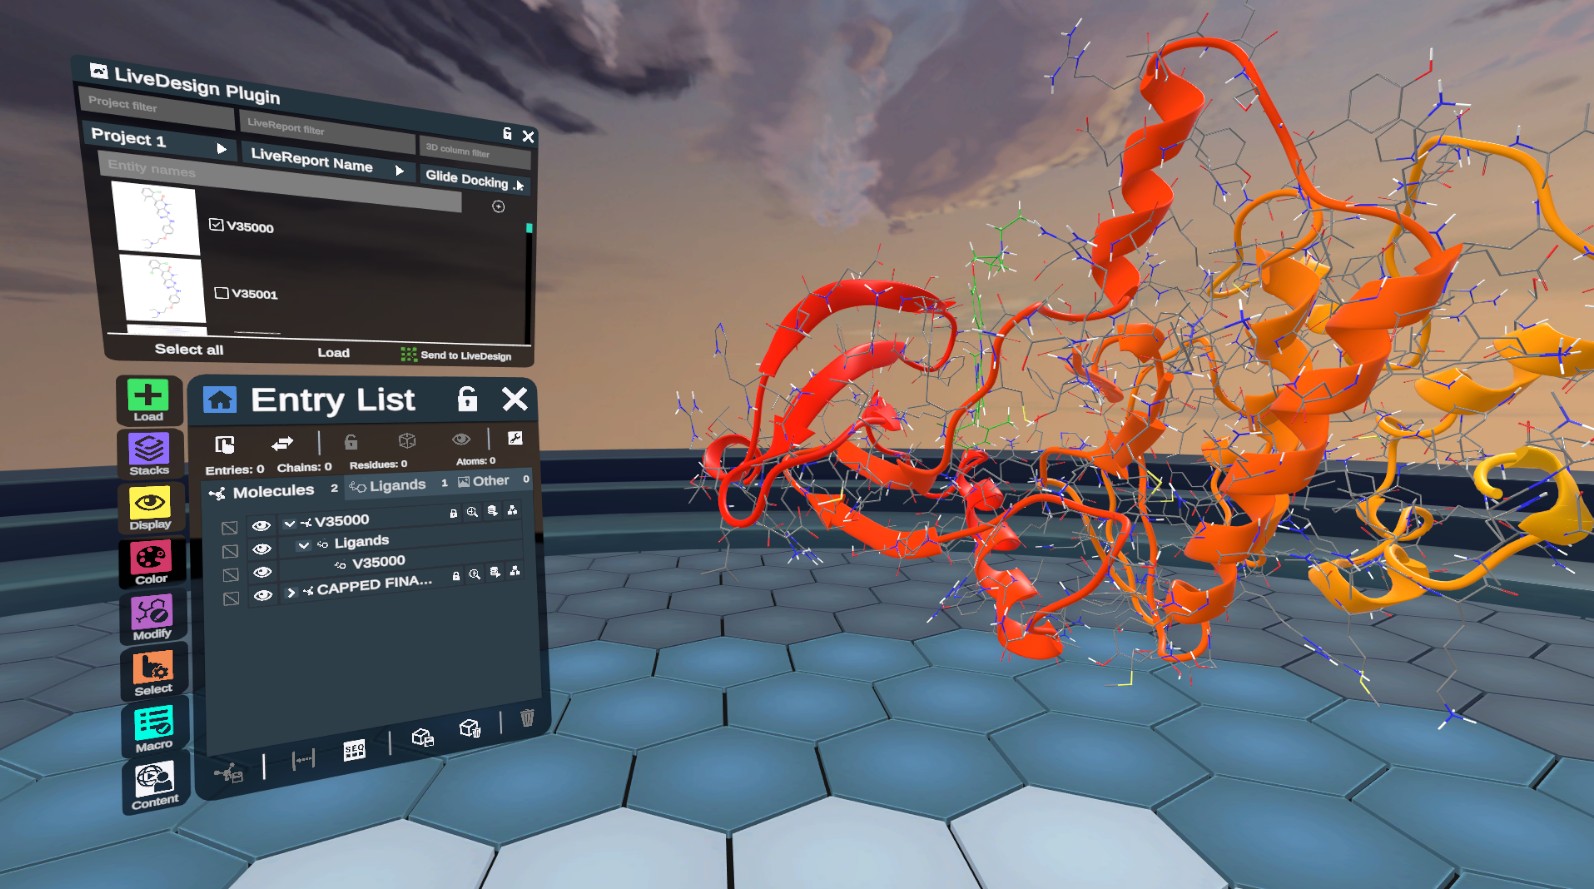
The Load, Plugin, Display, Color, Modify, Select, and Macro Menus can be displayed by clicking their respective icons located at the bottom of the Entry Menu.

# Entry List

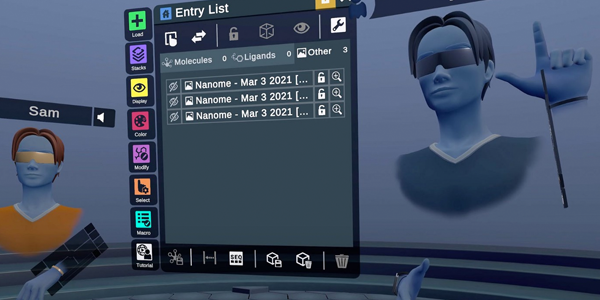
The Entry List is a list of all of the structures that have been loaded into the environment.

# Hierarchy Buttons

Hierarchy buttons can be used to navigate the structure's substructures such as chains and residues.

# Different Viewing Modes (Small, Medium, Large)

Different Viewing Modes can be toggled to modify the substructure icon sizes in each menu.

# Frame Data

Frame data allows users to navigate and modify different frames of the same structure (Academic and Enterprise only).

# Electron Density Maps

The Electron Density tab shows the configuration of viewing the Electron Density Map of the structure (Academic and Enterprise only).

# Select/Deselect All

Select or deselect all present structures.

# Invert Selection

Invert current selection.

# Toggle Lock

Lock or unlock selected entities.

# Toggle Box

Show or hide the box frame of selected entities.

# Toggle Visibility

Show or hide the selected entities.

# Save

Save the current workspace.

# New Workspace

Discard the current workspace and create a new one.

# Export

Export

Export the selected structures in a generic format.

# Align

Align the selected entities and place them in the same position under the same coordinate system. Caution: this does not necessarily align the entities by their atom position, and the entities could end up not overlapping after the alignment.

# Delete

Delete the selected entities.

# Load

Load molecules or structures into your workspace. Supported file formats include: .pdb, .cif, .mmcif, .sdf, .mol, .xyz, .mol2, .ccp4, .dsn6, .pse, .nanome, .png, .jpg, .jpeg, .pdf

Molecules featured by Nanome for their interesting properties or background.

# Database

From the Database tab, structures can be directly loaded from RCSB, DrugBank (Academic and Enterprise only), or PubChem (Academic and Enterprise only). Custom database can also be added by changing the config file.

# Keyword

From the Keyword tab, structure can be loaded from a keyword search.

# My Files

My Files tab allows users to load structures from their local directory.

# Recent

Recent files loaded in Nanome.

# Plugin

Please view the plug in page to learn more. (opens new window)

# Display

# Atom

This tab contains options for the visual of atoms and bonds.

  • Wire

Hide atoms and show bonds in thin wire visual.

  • Stick

Show small atoms and bonds in volumetric stick visual.

  • Van Der Waals

Show atoms in thin Van Der Waals visual and hide bonds.

  • Adaptive

Show atoms with radius proportion to their b-factor value and hide bonds.

  • Ball & Stick
  • Hide all atoms and bonds.

# Ribbon

This tab contains options for the visual of ribbons.

  • Cartoon

Show ribbon in cartoon visual that highlight secondary structures using helix and arrows.

  • Coil

Show ribbon in uniform tube visual.

  • Putty

Show ribbon in tube with widths proportion to the atoms' b-factor value.

# Surface

  • Show Surface

Show the solvent-excluded-surface.

  • Opacity

Change the opacity of the surface.

# Sub Structure

  • None

Hide hetatoms, waters and hydrogen.

  • Hetatoms

Show hetatoms.

  • Waters

Show hetatoms, including water.

  • Hydrogens

Show hydrogens.

# Labels

  • Atoms

Show labels on atoms.

  • Residue

Show labels on residues.

  • Chain

Coming soon...

# Color

Apply a solid color or a color scheme on the selected structures.

# Picker

Colors picked in picker are applied in a solid style.

  • Carbonite

Carbonite color applies only to carbons.

  • Monochrome

Monochrome color applies to all atoms indifferently.

# Schemes

Colors picked in schemes are applied in a certain pattern.

  • Monochrome
  • Carbonite
  • YRB Hydrophobe

Color selected structures by their hydrophobicity with yellow, red, blue colors.

Other available color schemes include coloring by occupancy, b-factor, rainbow and so on.

# Modify

# Edit

Edit the selected structures by applying actions from the buttons.

# Compute

Apply certain computations on the selected structures and modify them according to the result.

  • Calculate Hbond

Config the threshold for generating h-bonds.

  • Minimize

Config forcefield and step for minimizing potential energy of selected structures.

# Tools

Switch to a certain tool to directly apply modification to the structures.

# Mutate

Mutate the R-groups of the selected amino acids.

# Select

Quickly modify selection range using certain criteria.

# Refine

Refine selection by applying certain changes.

  • Replace Selection

# Atom Type

Select or deselect certain types of atoms.

# Residue Type

Select or deselect certain types of residues.

# Distance

Expand or shrink the selection range by physical proximity.

# Macro

Please view the macros page to learn more. (opens new window)

# Wrist Menus

Wrist menu contains access to features independent from the content of the workspace such as quick menu access, room management.

# Quick Menus

Toggle on and off each menu quickly or all at once.

# Room

  • Manage Users

Manage users by giving them the presenter privilage or teleporting them.

  • Presenter Requests

View the presenter requests and grant presenter privilege.

Quickly manage the enabled menus and format them in certain layouts.

# Settings

Change settings such as volumes and environment background.

# Context / Action Menu

# Tools Menu

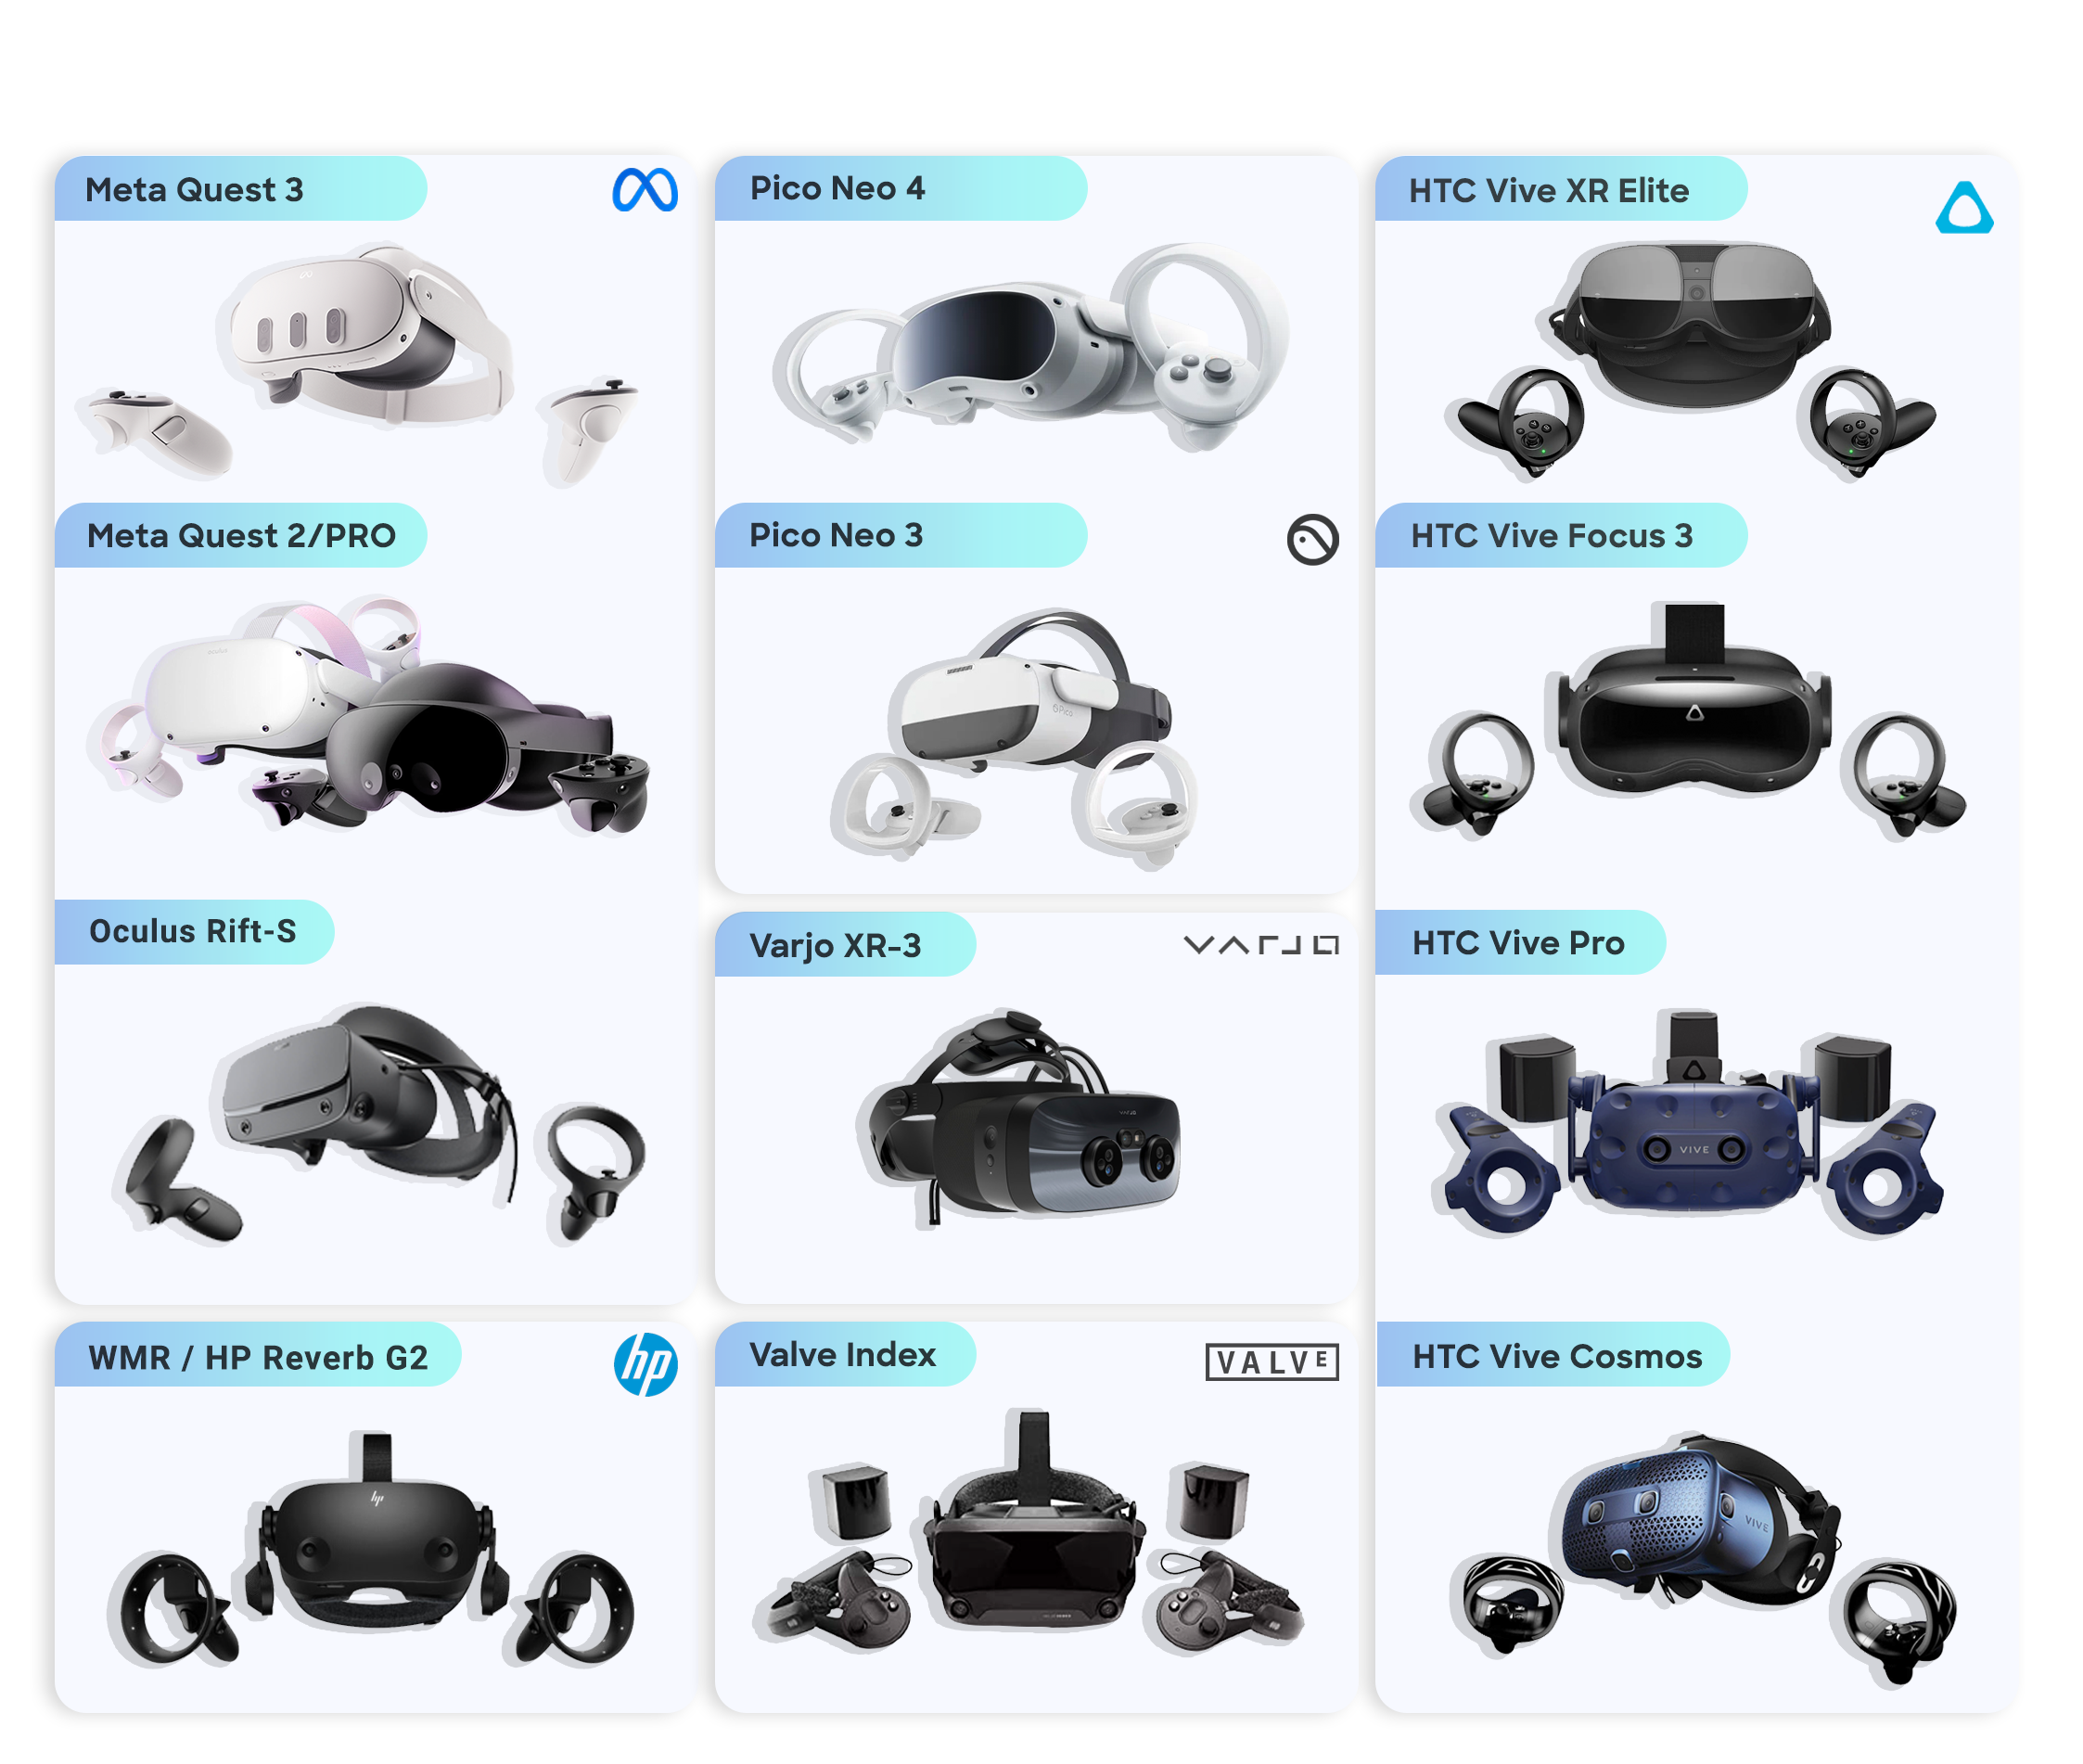
Press and hold the menu button to activate the tool selection menu, hover over the desired selection and then release the button. If no selection is made, the hand tool will be chosen by default. If you are using a Vive system, press and hold the touch pad on your right controller to activate the menu. If you are using an Oculus system, press and hold the B button on your right controller to activate the menu.

# Hand Tool

The Hand Tool is the default state of the hand and allows for basic interaction including grabbing and clicking.

# Measurement Tool

Measurement Tool places measurement points and measure the distances and angles between atoms and points of interests.

# Selection Tool

Selection Tool selects structures directly in the workspace.

# Torsion Tool

Torsion Tool twists rotatable bonds and changes the dihedral angles between atoms.

# MedChem Tools

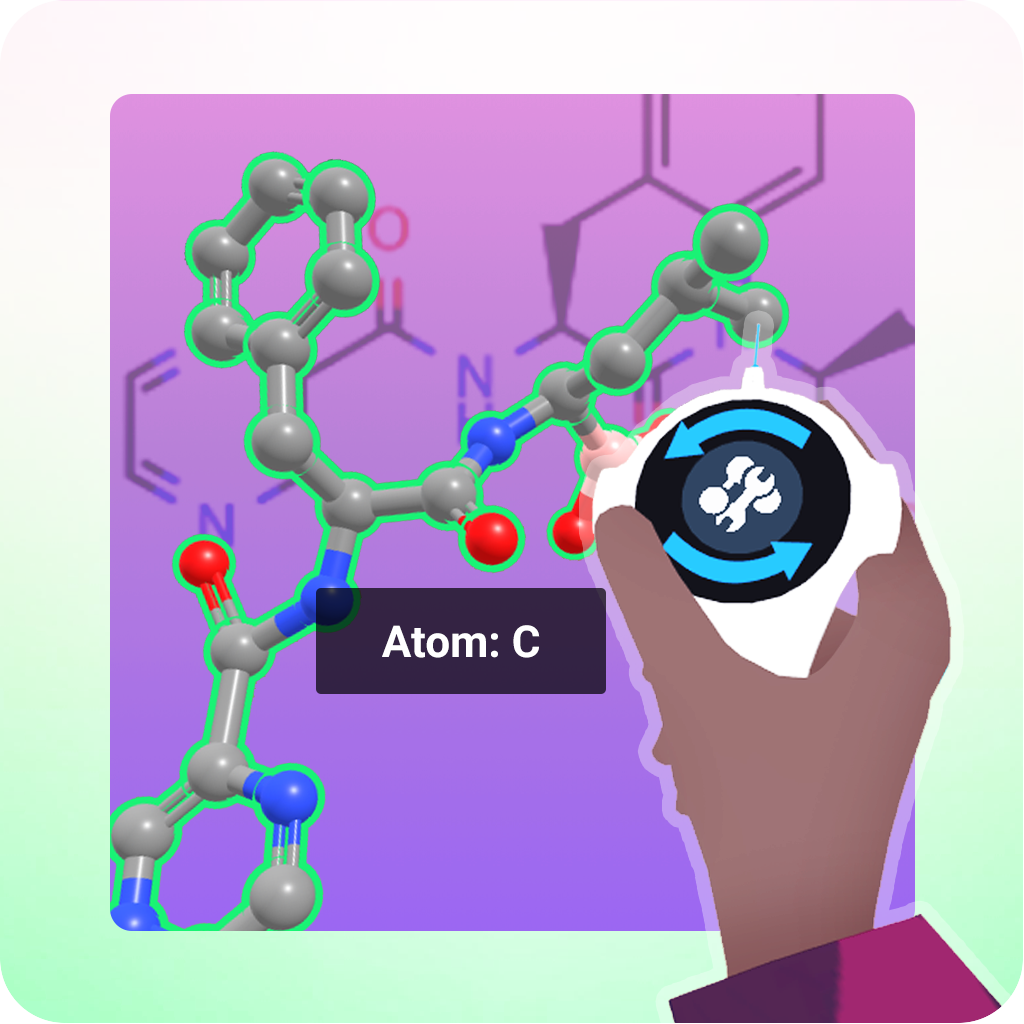
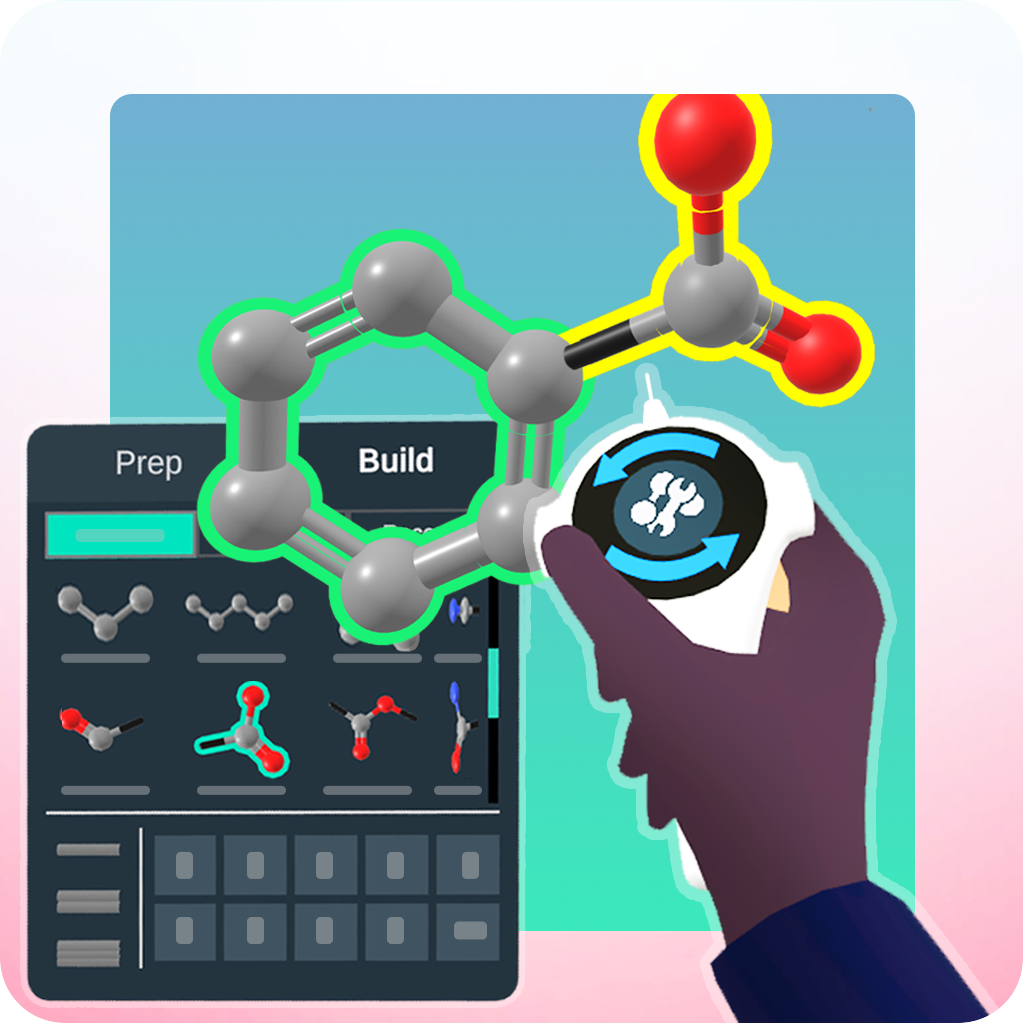
MedChem Tools enable editing the atoms directly using hands, bundling a rich set of features including atom addition and removal.

# Prep

Offers options to quickly access binding sites and config the auxiliary features such as auto-minimization.

# Build

Select a substructure from the build menu and build it on top of existing atoms using MedChem Tool.

# Periodic Table

Select any atom type from the periodic table to use in build mode.

# 2D UI

Nanome is accessible from a keyboard and mouse setup on a 2D monitor as well.

# Room

Manage users or request presenter privilege.

Toggle or manage menus.

# View Navigation

Change options for view control.

# Settings

Change settings including volume and environment background.

# Controls

The control scheme can be accessed at any time by pressing the [H] key on the keyboard.

Last Updated: 1/10/2020, 7:29:42 PM