


Videos of Spatial Recordings
Advanced Tutorials
Nanome Youtube Channel


Nanome Blog


Featured Sections
Main Menus
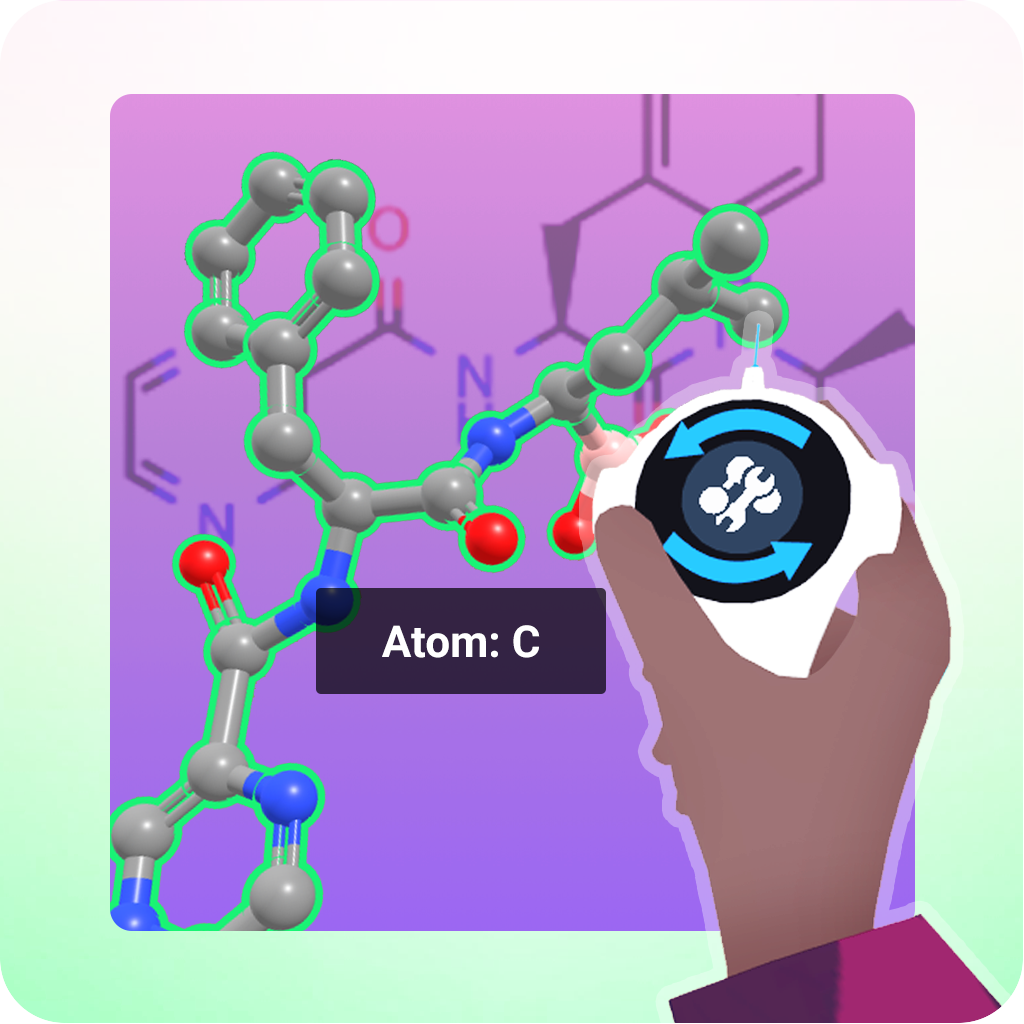
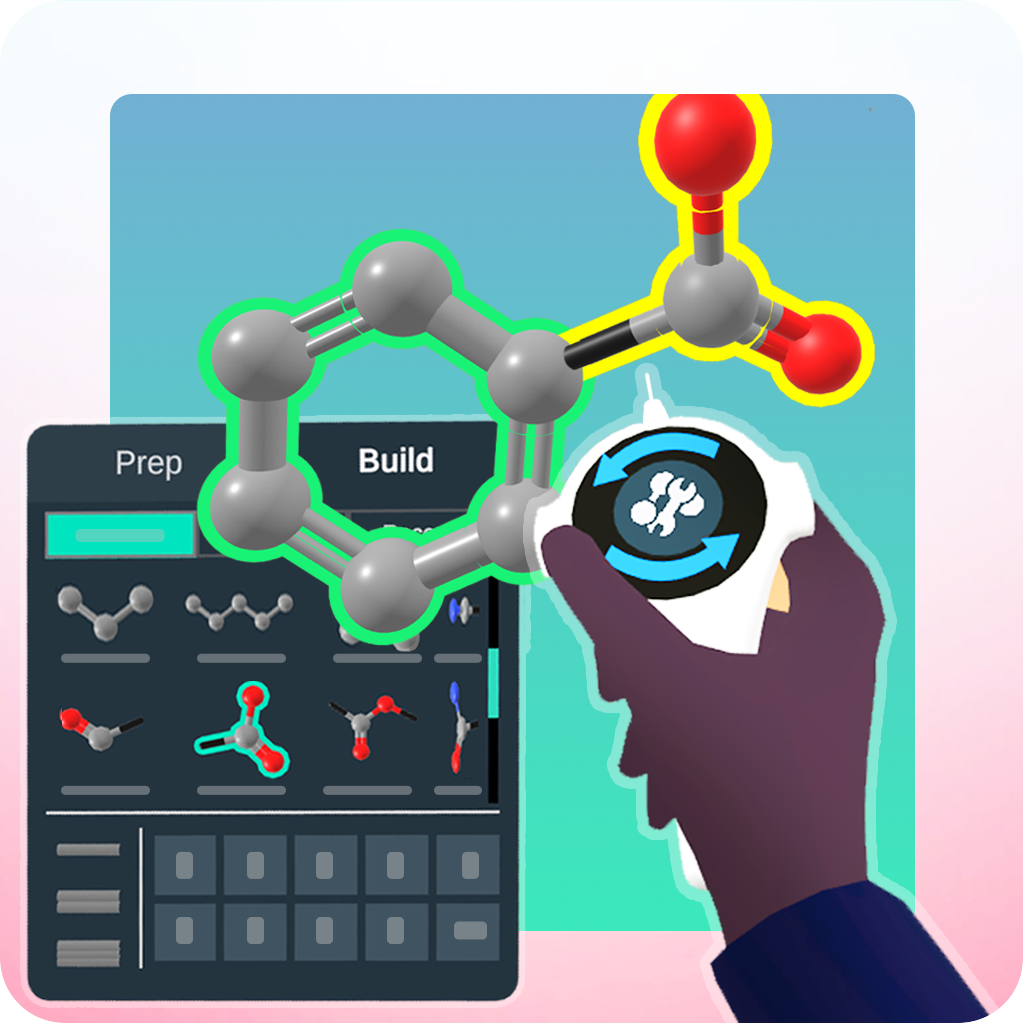
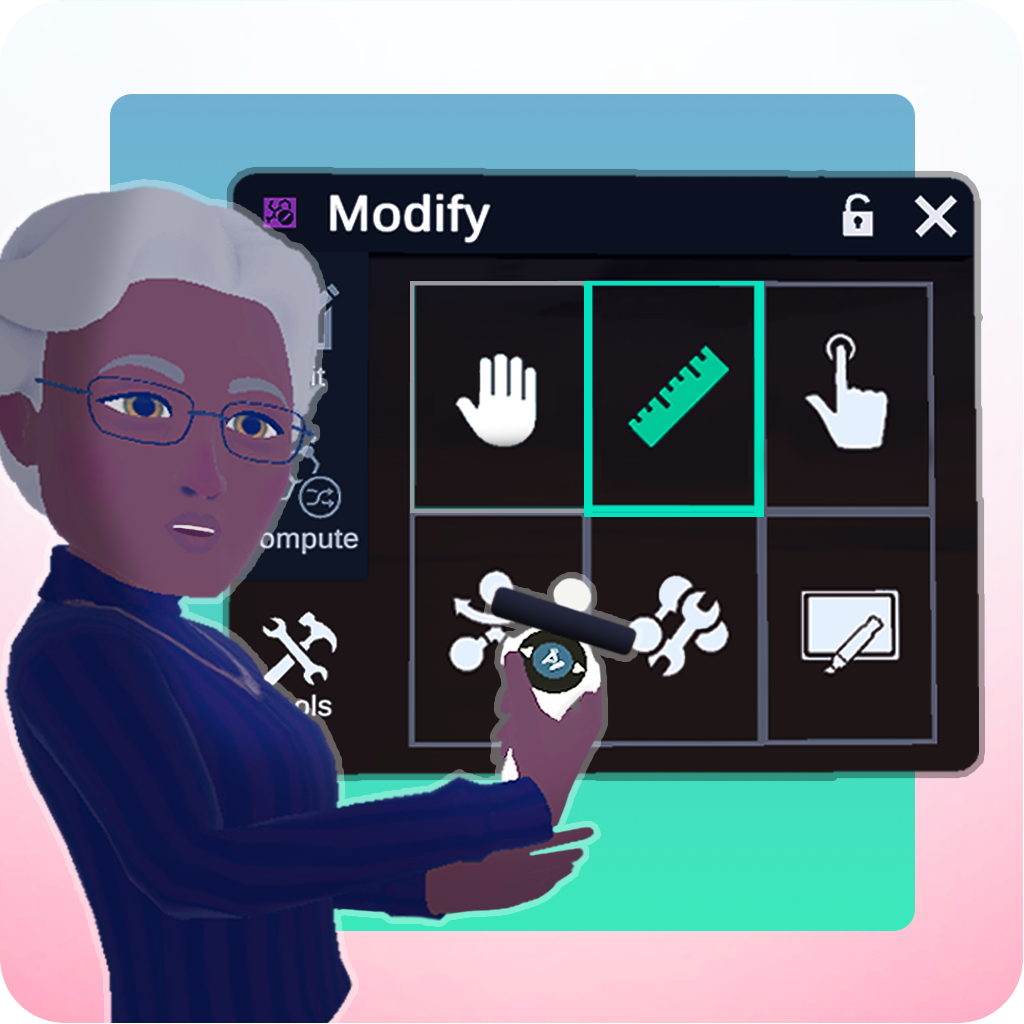
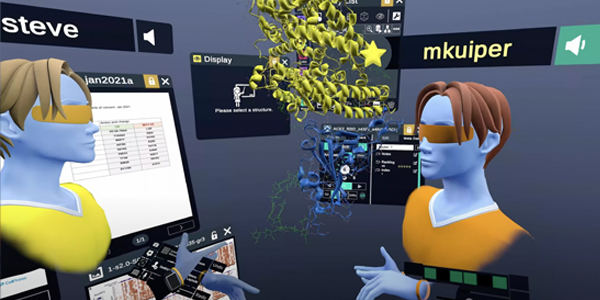
All the menus of NanomeTools Menu
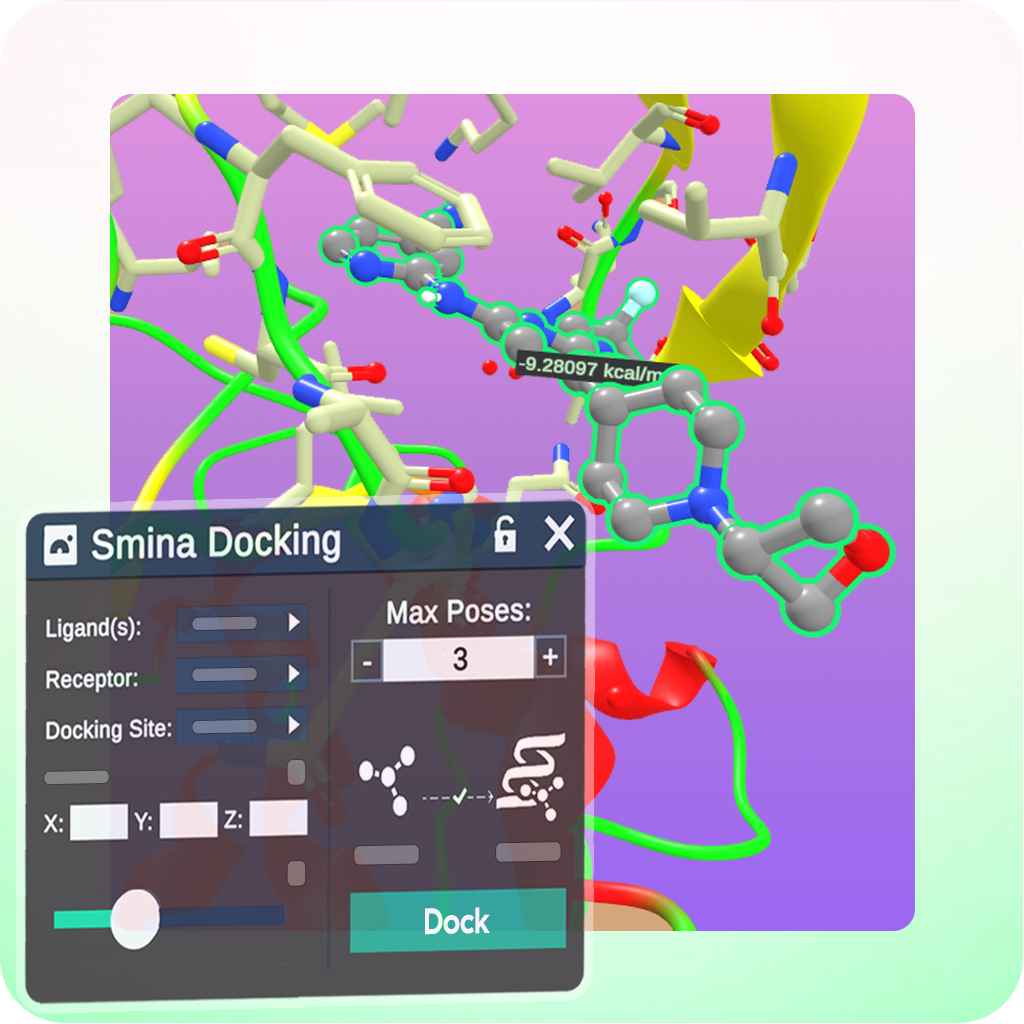
All the tools of NanomeNanome Stacks
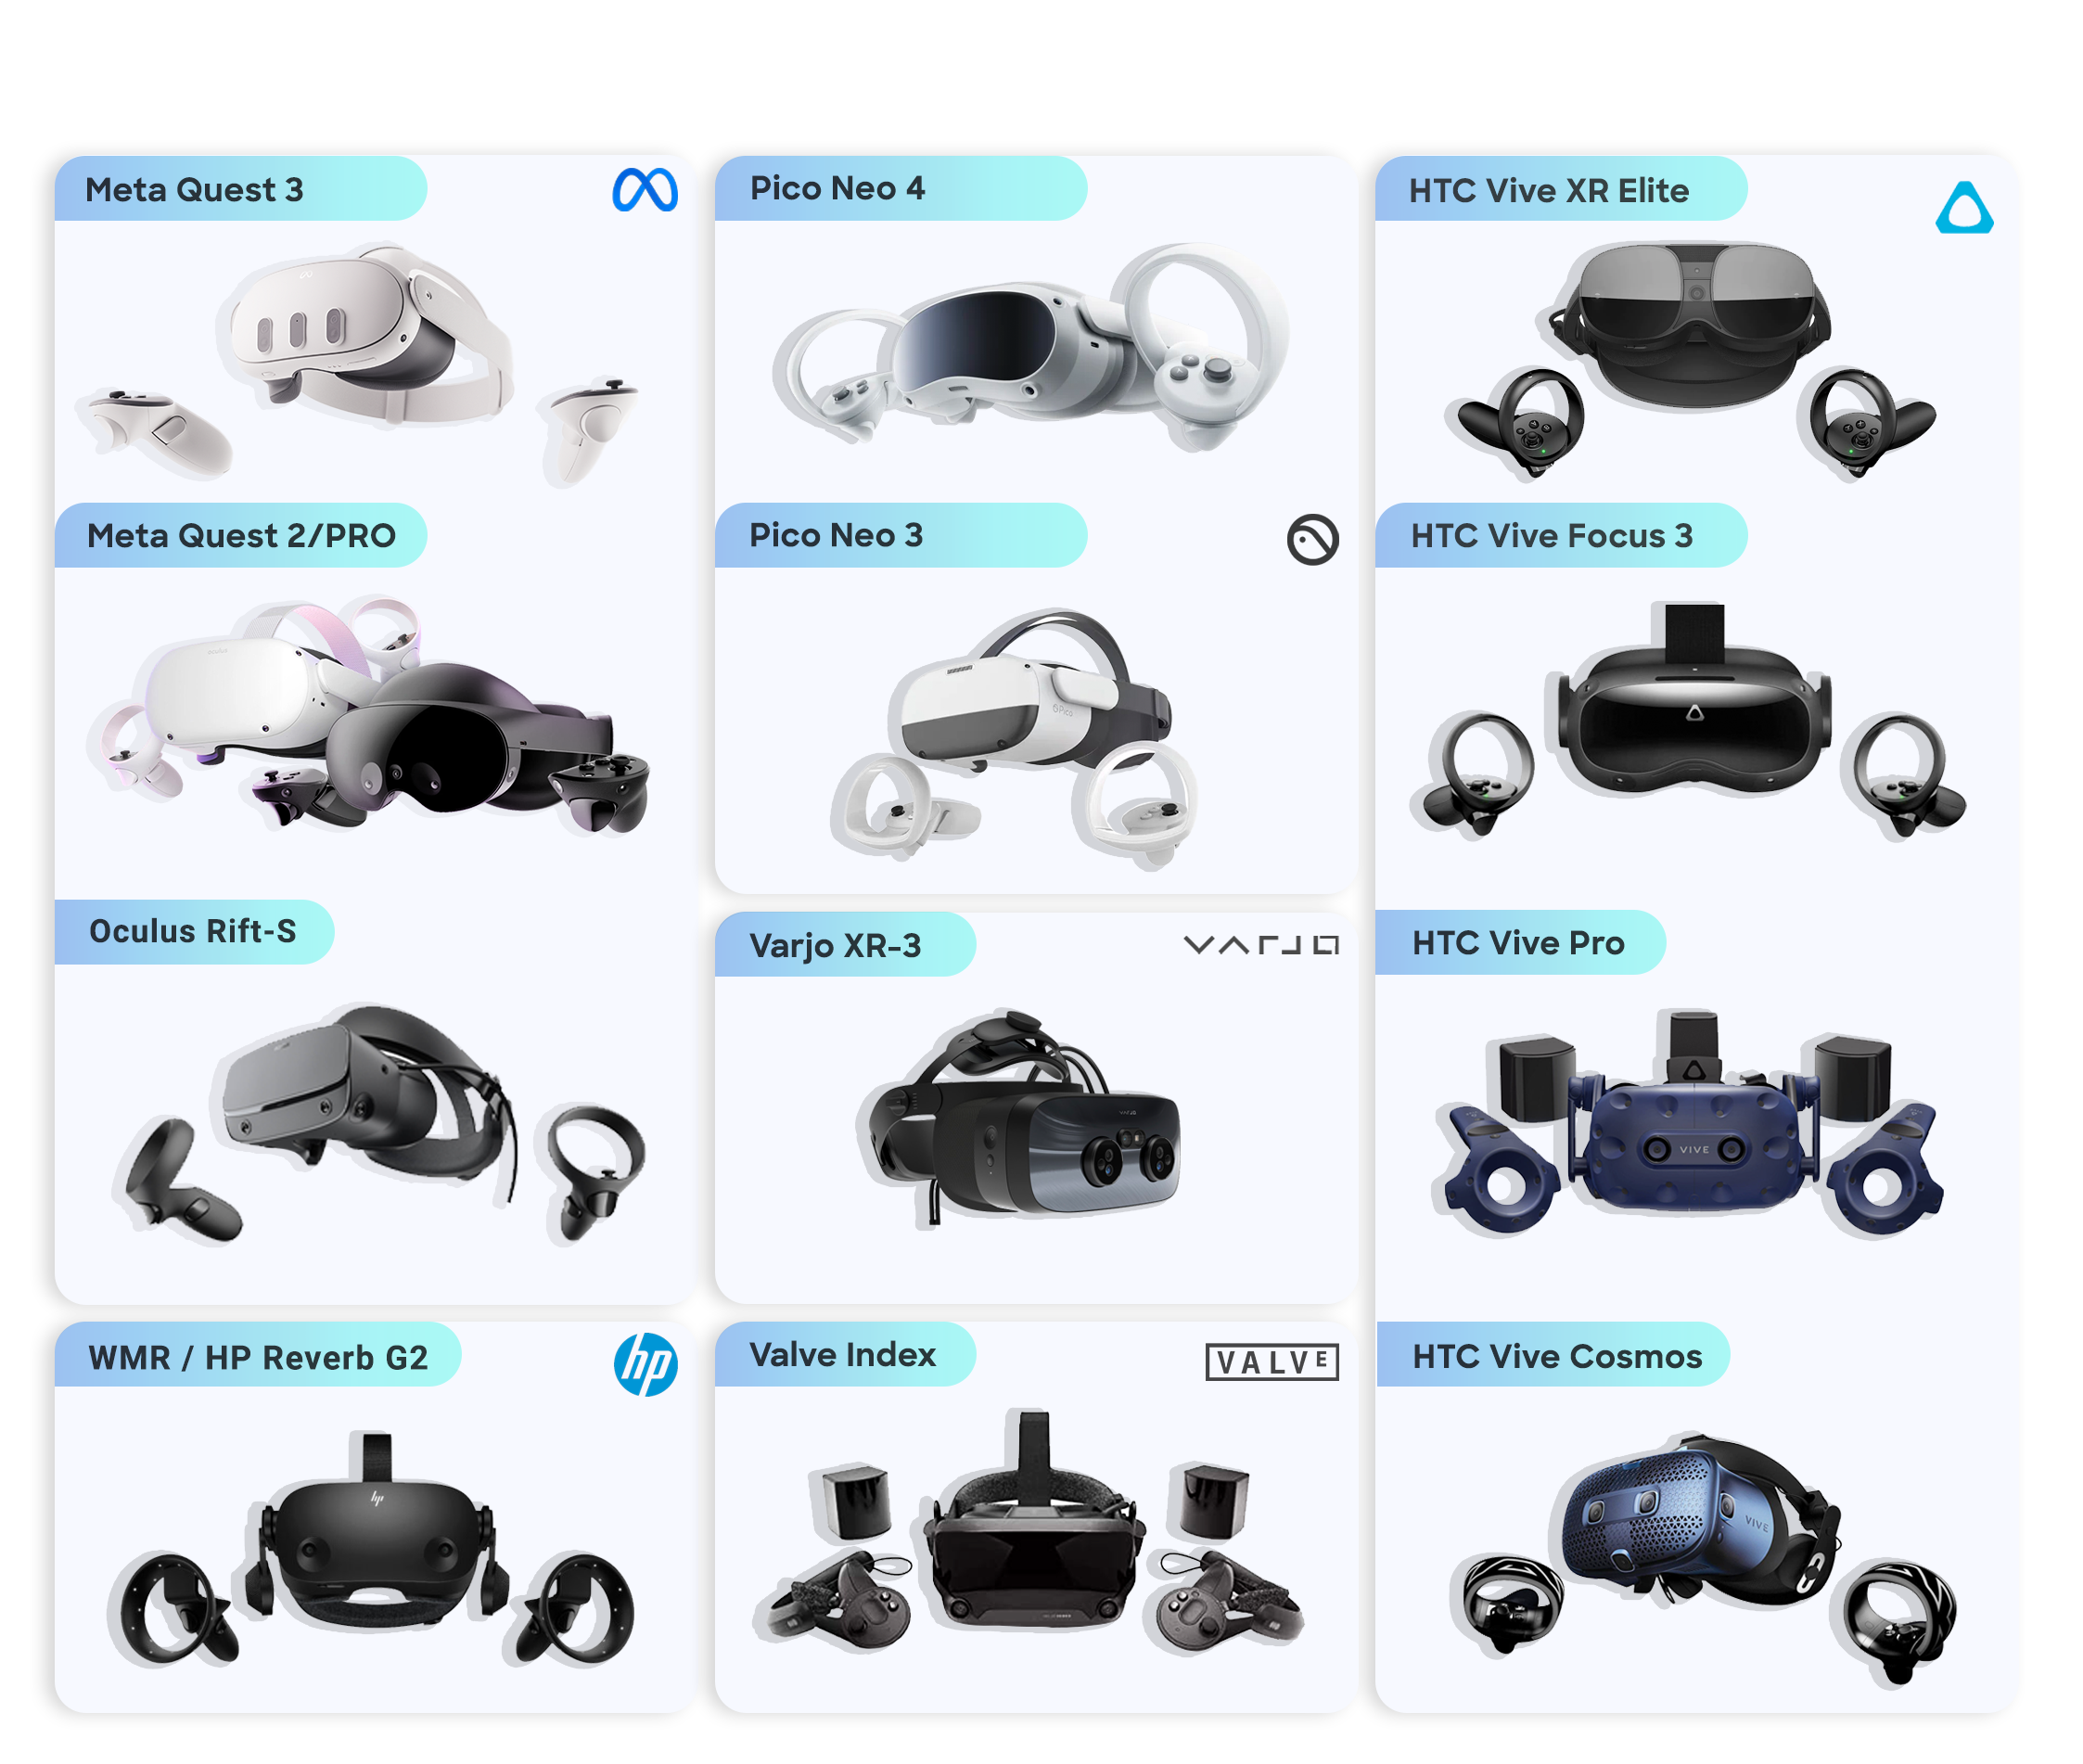
An overview of the plugin systemCompatible Headsets
Requirements
Overview →